sreda, 16. november 2011

25-xxx

Console maintenance is done!

In the last days we were working on changing smaller bits on the console like converting lamps to LED and some other smaller problems that we had on the channels and master module.But now the hard work is done, the console still misses all the back, bottom and side panels that will put them on in next days as we need to finish some other work in the other studio rooms.

There you can see the LAMP to LED modification, we have done almost the same thing on all switches;)


Master section... cheking if evrything is ok ;)

ponedeljek, 7. november 2011

Day 22-24

... back to the cleaning..,

Day 22:
The SSL G computer before cleaning....


And after the cleaning!


The PSU before cleaning, (i forgot to took the pictures when cleaned, will do it later as we have to change the fans.)


And the SSL Rack...


Day 23: the computer connected to the console with all the cables and tested, seems to be working fine, still need to try the Total recall but need to get a RGB to VGA converter before ;)

Day 24: all the channels fitted in the console and working, there are still some small things to be fixed, all the faders cleaned...

Day 19 - 21

In this days we didnt work on the console... there was a lot of work in the machine room, putting all new multicores on rows and we had to pack our old console for the shipping to the client.

so thats it for that days.... ,)

ponedeljek, 31. oktober 2011

Day 13-16

Back on the blohhhh ;)

So the recapping is almost done, tomorrow the last 8ch needs to be desoldered. Then we will be busy for a day or two with some wall painting in the machine room and a big reordering job before putting in the SSL Rack with all the power supplies, computer etc...

Work in progress.


Some of the desoldered capacitors...


The input channel modules, Recapped! ;)


And there is the channel extender with one of the input channels for testing the modules before putting them on all channels.

torek, 25. oktober 2011

Day 9-12

Finally the cleaning part of the console surface is done! Buttons, knobs and caps back on the console ;)
The patchbay wiring is almost done for now. We are waiting for some new multicores for our tape machines etc...

So here is a detail from the channels strip cleaned and with any smell ;)


I forgot to take some pictures of all the knobs,switches etc in the pasta stockpot ;) so i done a picture of 8 Channels of Caps for the rotary knobs. Now you can try to imagine 58 channels of rotary knobs, buttons, caps and faders caps in one basket ;)


This box has arrived this morning... 4000 electrolytic capacitors for recapping the console, tomorrow the
fun begins ;) it remembers me the part from the movie "The Karate Kid" (add wax - remove wax ... in italian it sounds better
metti la cera - togli la cera ;)) so we will have to "desolder the cap. - solder the cap.,.... ok forget it ;)

petek, 21. oktober 2011

Day 7 - 8

Those two days and the next few are all about cleaning channel panels buttons...
and of course wiring the patchbay.

Jadran working on the patchbay!


The first 24channels without knobs,switches etc ready to be cleaned.

sreda, 19. oktober 2011

Day 4, 5 and 6

day 4

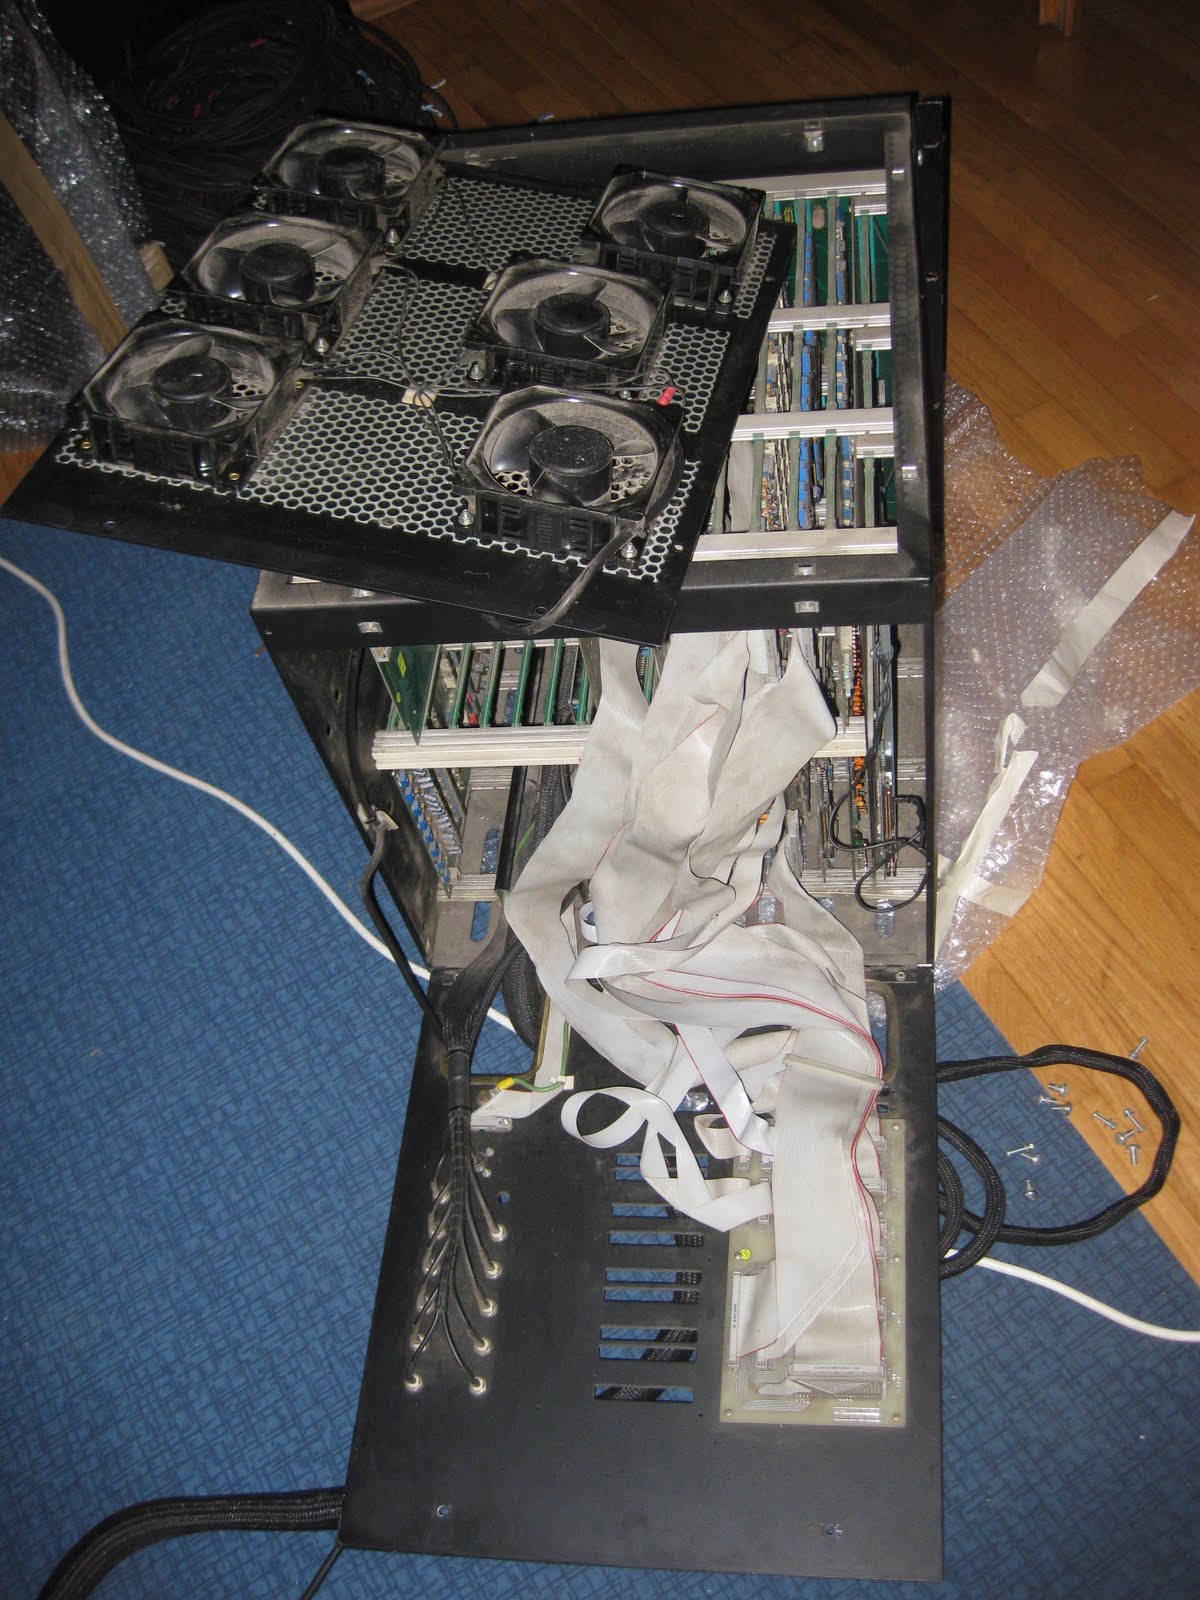
I forgot to place back some flat cables ...;/ and because it was not done at the beginning, it was quite more difficult;>
then was the time for all of the bottom connectors.

Cables back in the right positions.


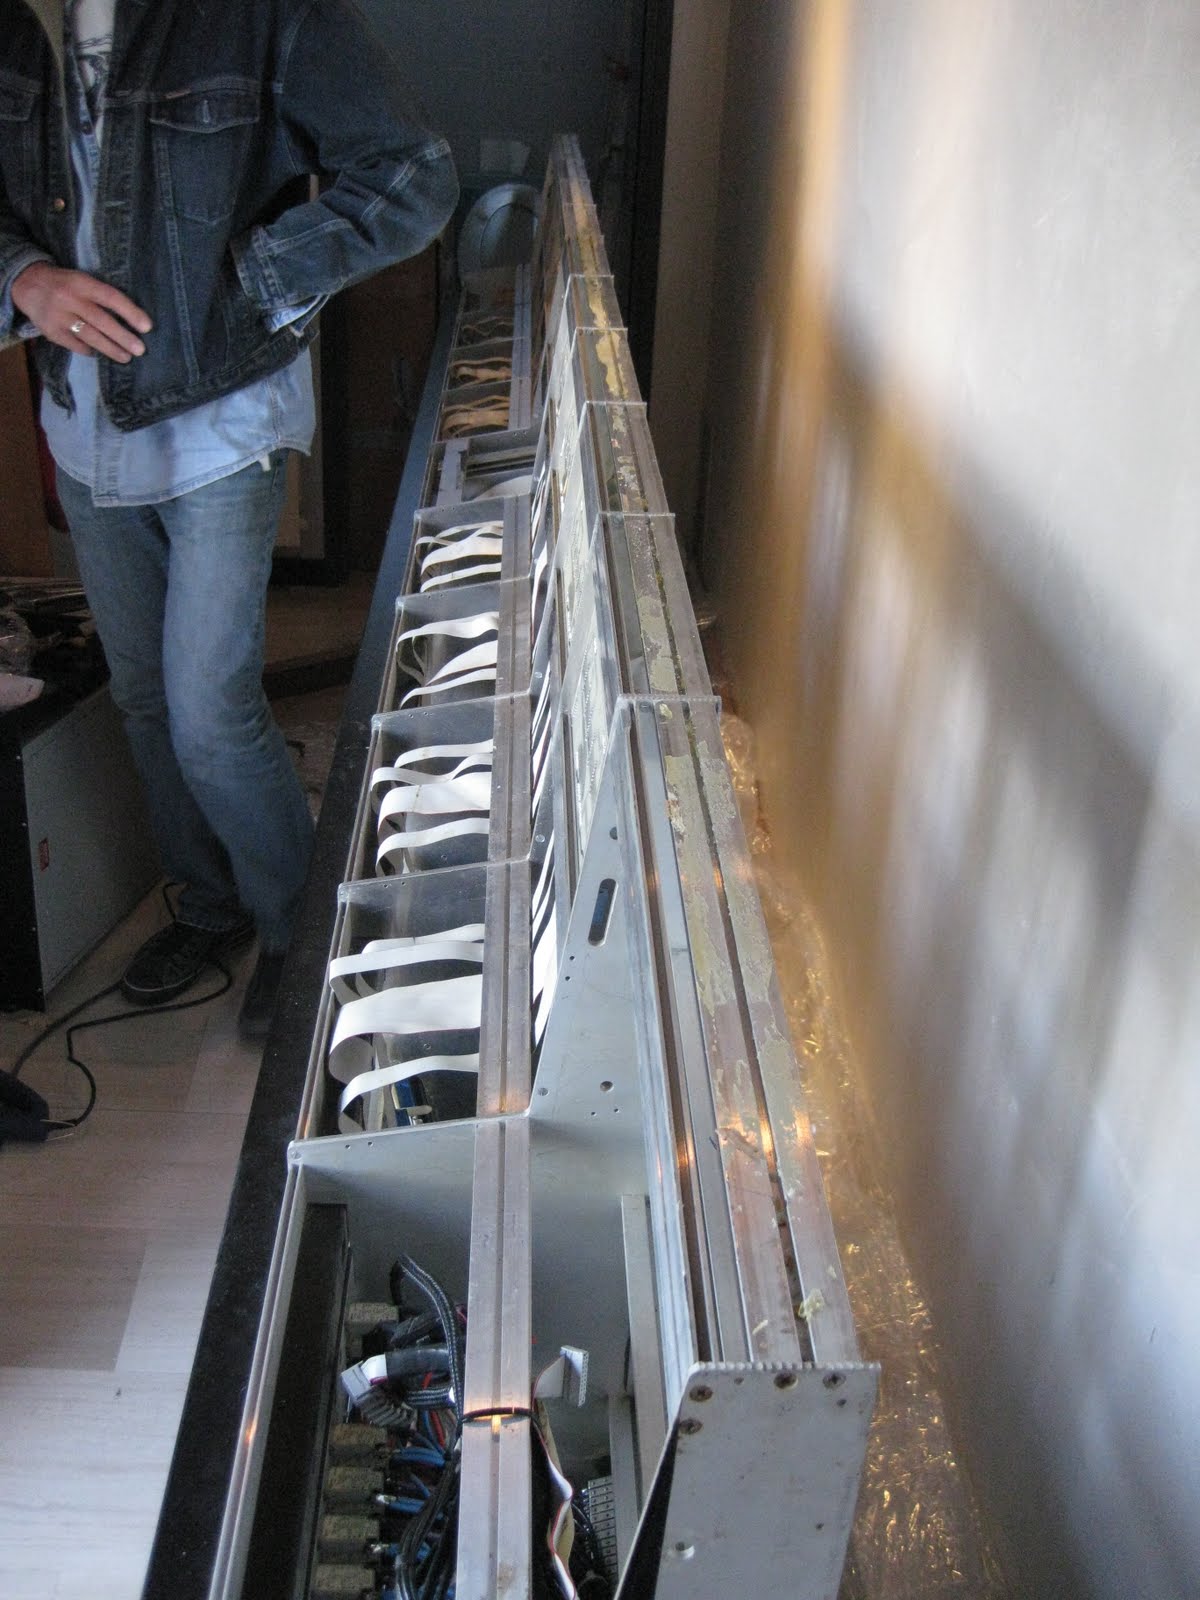
on the other side we started to thinking of the arrangement of patchbay and the best way to wire
it... we decided to hard wire everything;) looootsss of time to spend on it ;)

day 5..

power supply, WORKS!
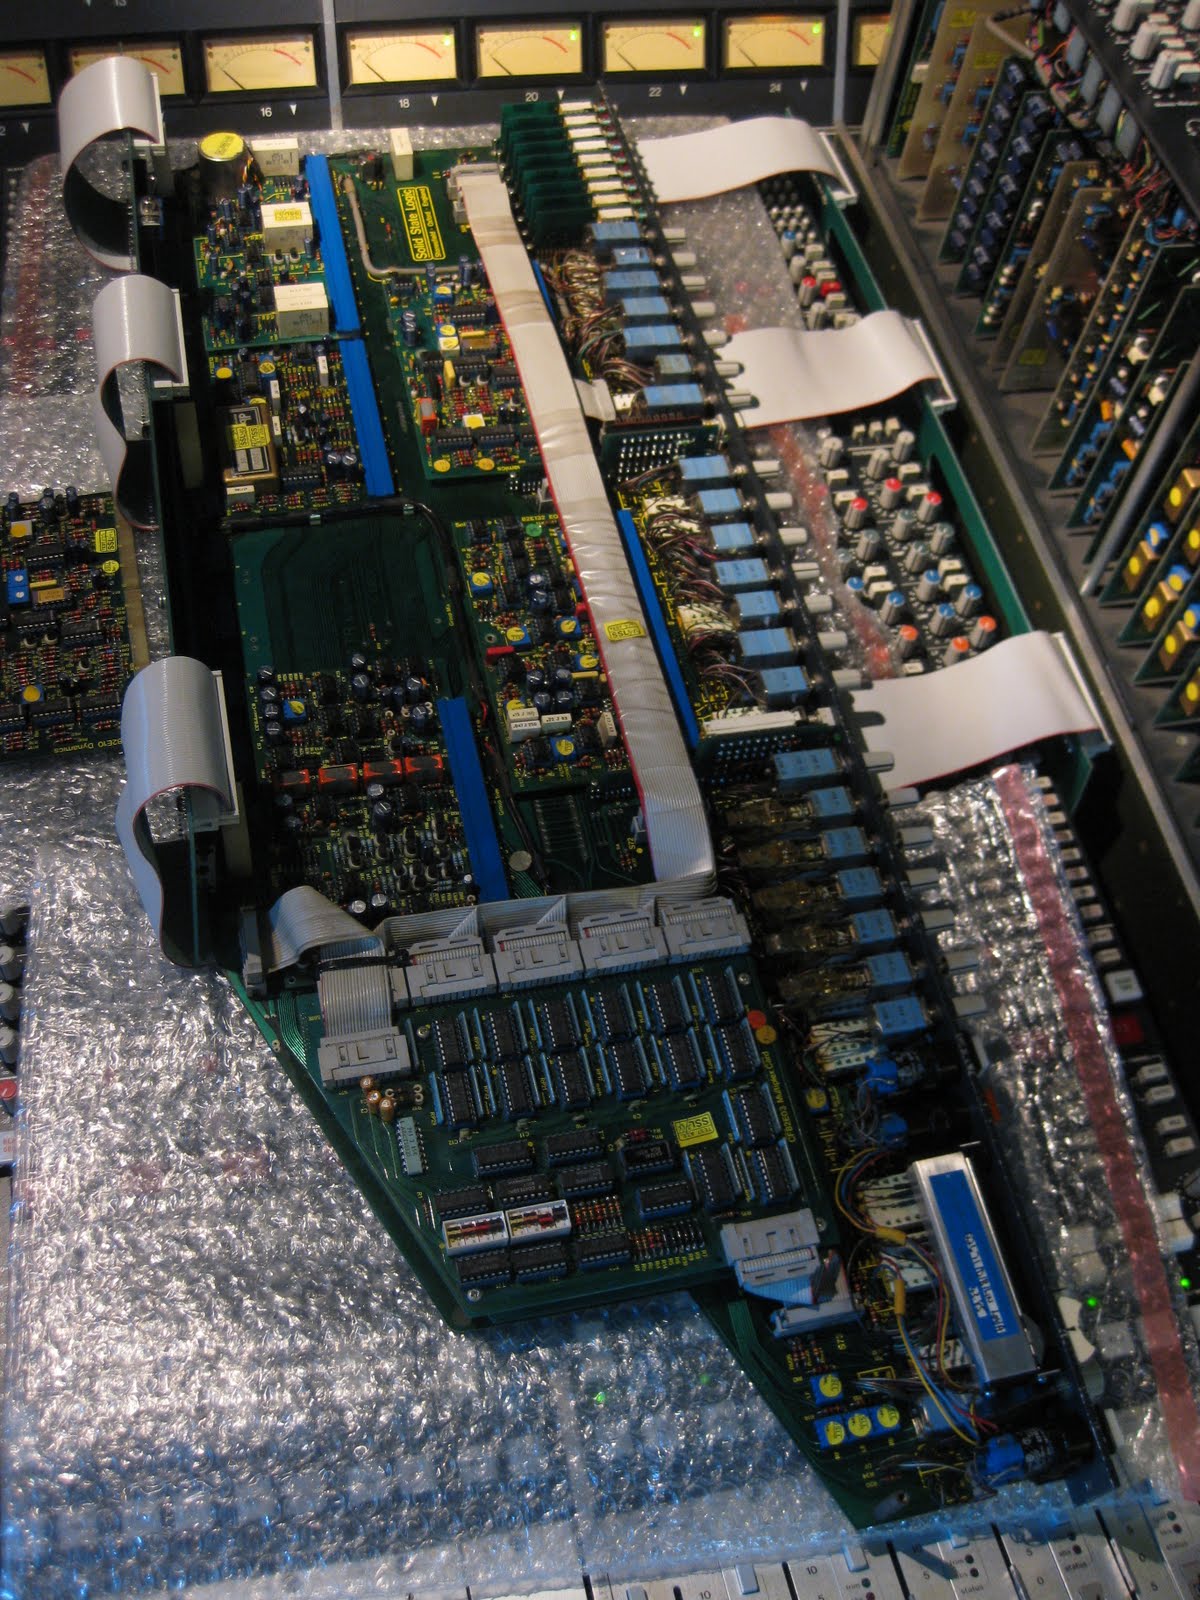
master module fitted on the frame, WORKS! ;)
and first 8 channel modules, everything WORKS ;)...

we had to do some work outside the console so that was it for day 5.

Day 6,

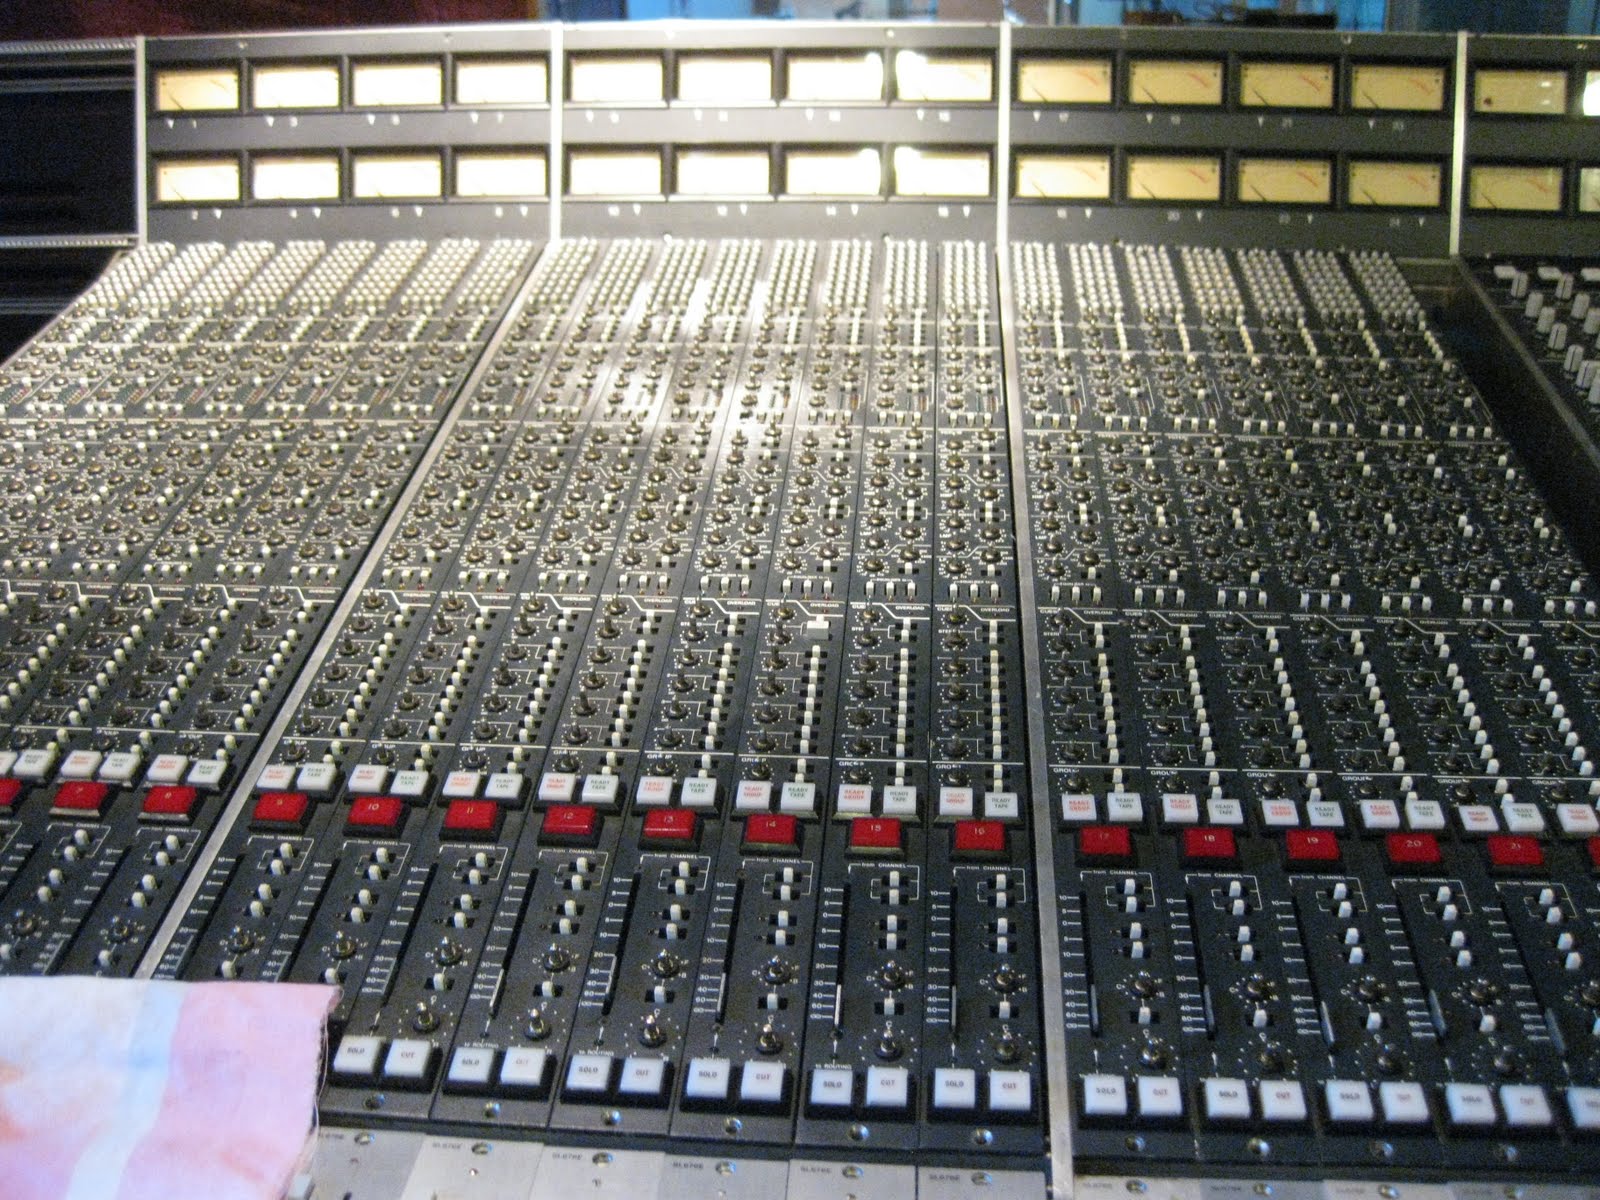
all channels are in!! i tested all the channels and wrote down what is working and what
needs to be fixed..

patchbay work in progress!

Day 3

We started to clean the frame and putting it on the base...

Then it was the time for a funny wiring job.


Some of the cables to be wired...


A friend of mine helping me out figuring the right wires ;))


A portrait of the katze...;)


Still cleaning.. ;)

Day 2

bloody day 2... we decided to do some changes on our cabling tunnels.. so
most of the day was lost for that...

At least we decided where to put the console base;)

Day 1

So lets take a look at what we done the first day...
not much ;)

The wooden border was taken away...


Then we were watching all the cables....still looking and thinking...


The damage was done, now a new problem has become...;) the console is still to big to go thru the door...
we had to make some damage on the door border and one of the walls... (dont wanna show the pictures;)


And finally the frame is in the control room... amm this is the smaller part of the desk, currently without any cable.

Comission day

So here it is! Our new "old" toy;) A beautifull SSL 4056 E/G!


SSL in the van...


And here it is in our corridor, before cutting it in to 2 pieces.